Seasonal Home Maintenance: Plastering Tips for Winter Preparation


Understanding the Importance of Plastering for Winter
As temperatures begin to drop, it's essential to ensure your home is well-prepared for the colder months. One often overlooked aspect of winter preparation is plastering. This crucial step not only enhances the aesthetics of your interiors but also serves as a protective barrier against the harsh elements. By taking the time to address any plastering needs, you can prevent more significant issues down the line, saving both time and money.

Inspecting Your Walls for Damage
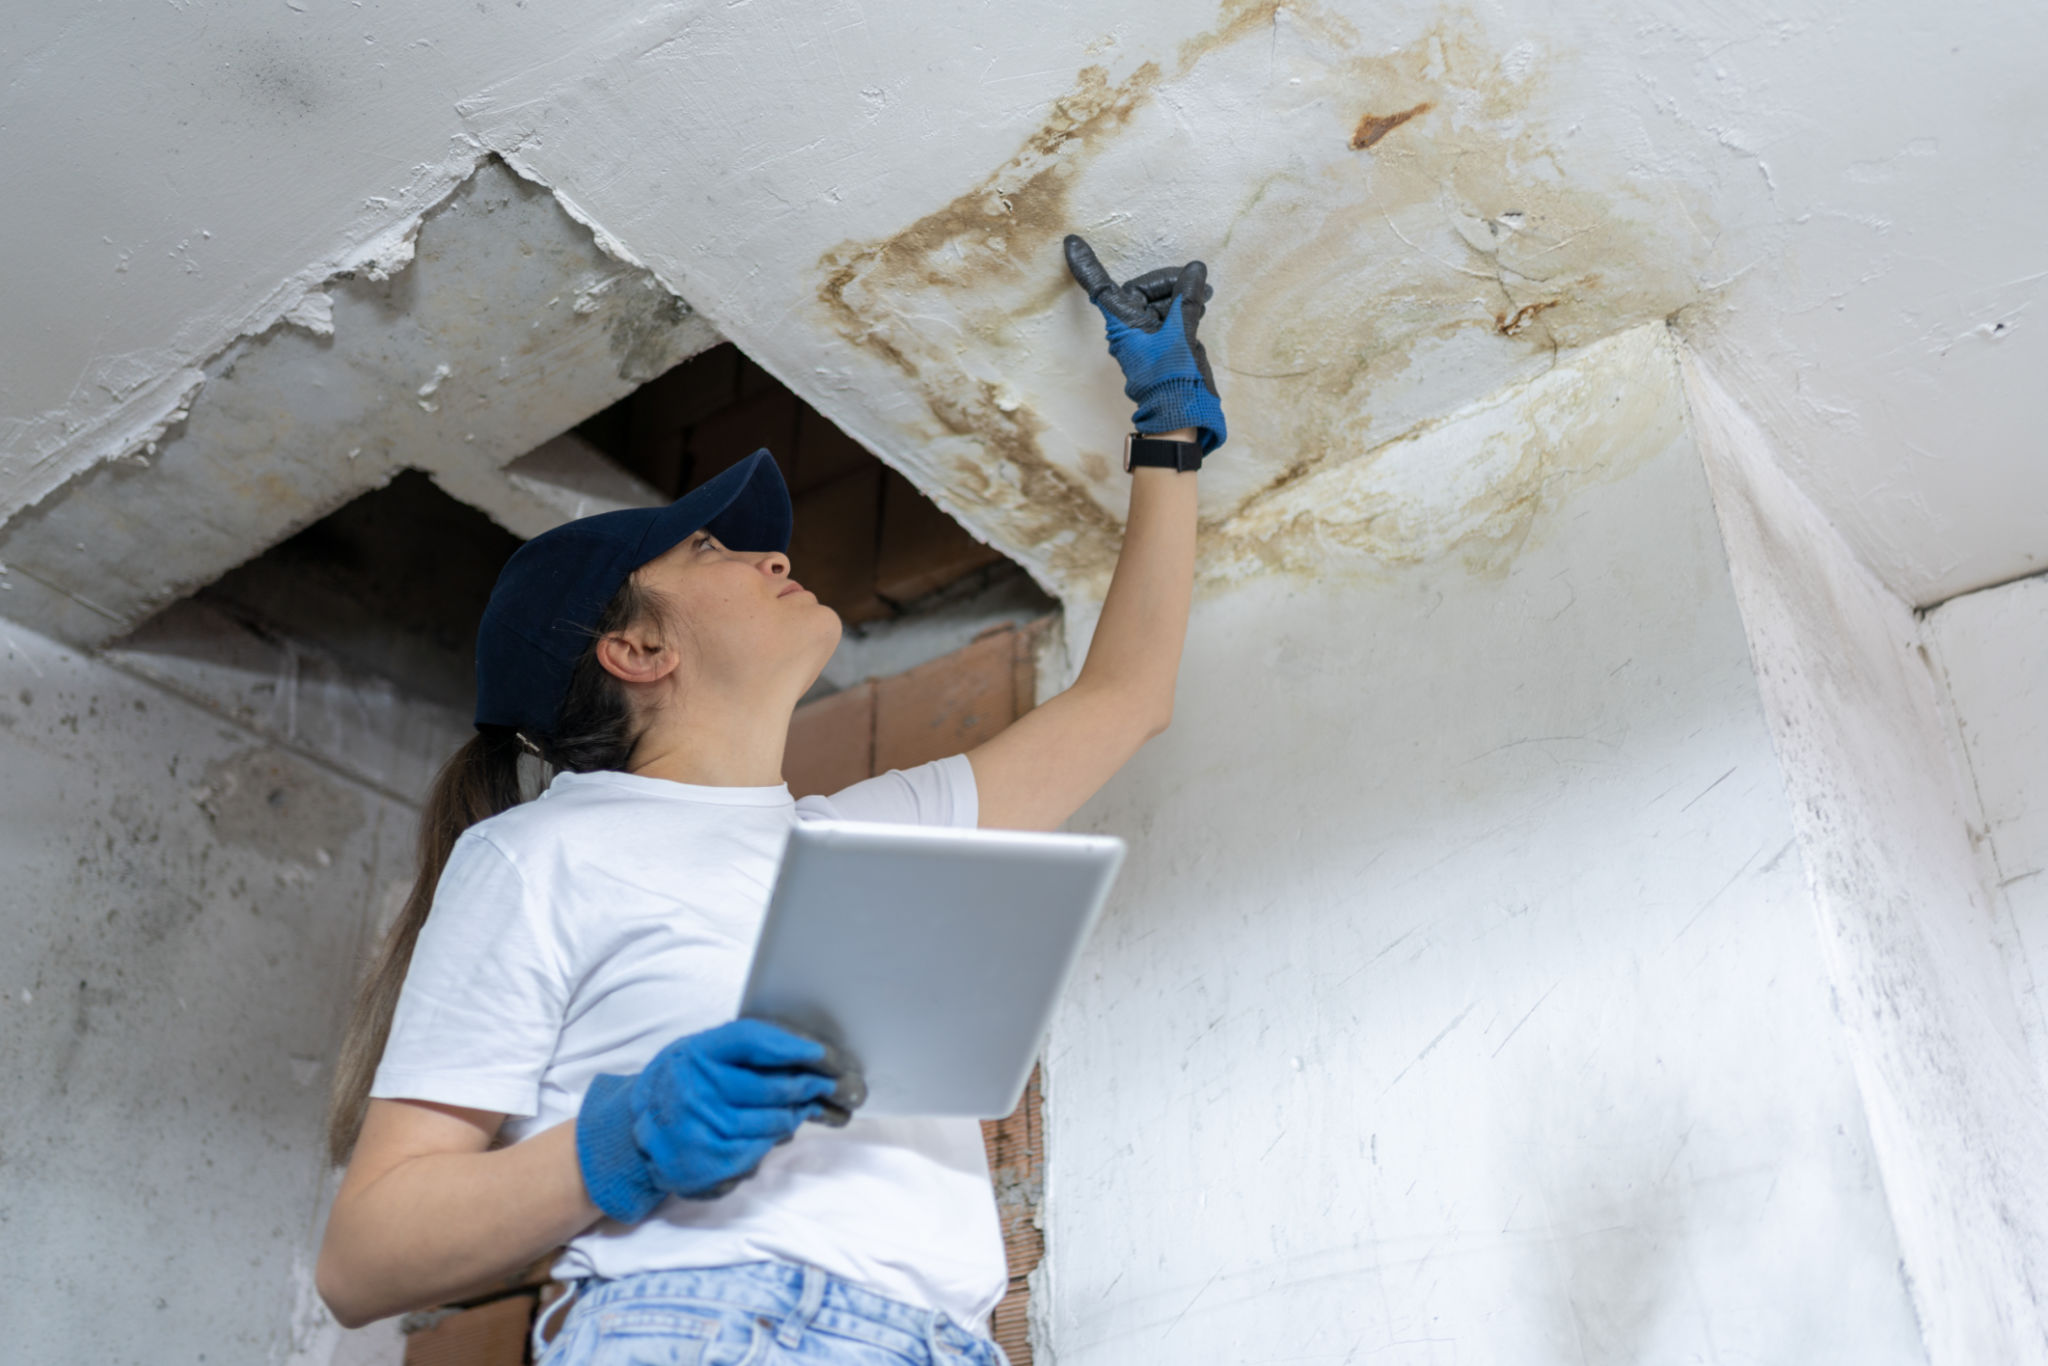
Before diving into any plastering work, it's vital to inspect your walls for signs of damage. Look for cracks, chips, or areas where the plaster has started to crumble. These imperfections can allow cold air to seep in and moisture to accumulate, potentially leading to mold growth. Conduct a thorough walk-through of your home, paying particular attention to areas around windows and doors, as these tend to be more vulnerable.
Common Signs of Plaster Deterioration
- Visible cracks or holes in the plaster
- Bubbling or peeling paint
- Damp patches or discoloration
Choosing the Right Plaster for Winter Conditions
Selecting the appropriate type of plaster is crucial for ensuring durability during winter. There are various options available, including traditional lime plaster and modern gypsum-based plasters. While lime plaster offers excellent breathability, gypsum provides quicker drying times and ease of use. Consider your specific needs and consult with a professional if necessary to determine the best fit for your home.
Benefits of Using Lime Plaster
One of the primary advantages of using lime plaster is its ability to handle moisture effectively. This makes it an excellent choice for older homes or areas prone to dampness. Additionally, lime plaster is known for its flexibility, which helps it withstand structural movements without cracking.

Steps for Effective Plaster Application
Once you’ve identified the areas that require attention and chosen your plaster type, it’s time to start the application process. Here’s a simple guide to follow:
- Prepare the Surface: Clean the wall thoroughly to remove any dust or loose debris.
- Mix the Plaster: Follow the manufacturer's instructions to achieve the right consistency.
- Apply a Base Coat: Use a trowel to spread a thin layer of plaster over the damaged area.
- Finish with a Top Coat: After the base coat has dried, apply a finishing layer for a smooth result.
Drying and Curing: Essential Tips
Proper drying and curing are critical for ensuring your plasterwork lasts through the winter. Make sure the room is well-ventilated but avoid direct drafts on the freshly applied plaster. It typically takes about a week for plaster to fully cure, but this can vary depending on humidity levels and temperature. Patience is key—rushing this process can lead to cracks and an uneven finish.

Maintaining Your Plaster Through Winter
After successfully applying new plaster, maintenance becomes crucial for preserving its integrity throughout winter. Regularly check for any signs of new damage and address them promptly. Additionally, consider using a dehumidifier in rooms prone to moisture buildup to prevent damp-related issues.
Proactive Measures
- Inspect regularly for new cracks or damp spots
- Maintain consistent indoor temperatures
- Use sealants on windows and doors to minimize drafts
The Long-Term Benefits of Pre-Winter Plastering
Investing time into pre-winter plastering not only safeguards your home against immediate weather challenges but also enhances its overall value. Well-maintained walls contribute significantly to energy efficiency by reducing heat loss, ultimately lowering your energy bills. Embrace this seasonal maintenance task as a worthwhile investment in your home's longevity and comfort.
